Adding Images to WordPress
When adding an image to your WordPress website, whether it’s a blog post or a page, the actions are the same. Open the page or blog post you wish to add the image. Create a new block by selecting an image icon.

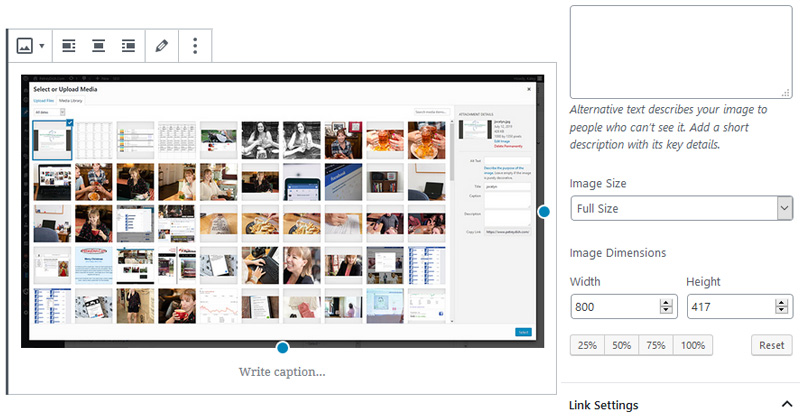
Choose whether the image is coming from the media library or if you need to add a new image from your computer. Click on the appropriate option (“Upload” or “Media Library”).

If you choose from your media library, pick the image you want blog post or page. The image you want to add to the page or post will have a checkbox and/or a blue square around the image. Then click select in the bottom right of the window.

Once the image is added, you can then adjust the image
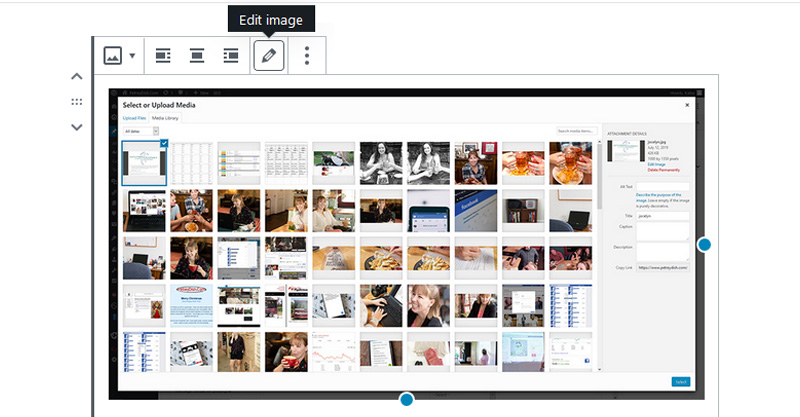
To replace an image, click edit, select “upload” or “media gallery” and select a different photo. Then adjust sizing and alignment as needed.
Congratulations!! You have added an image to your website! Enjoy!
Content Content Management Systems Photos updates Website WordPress